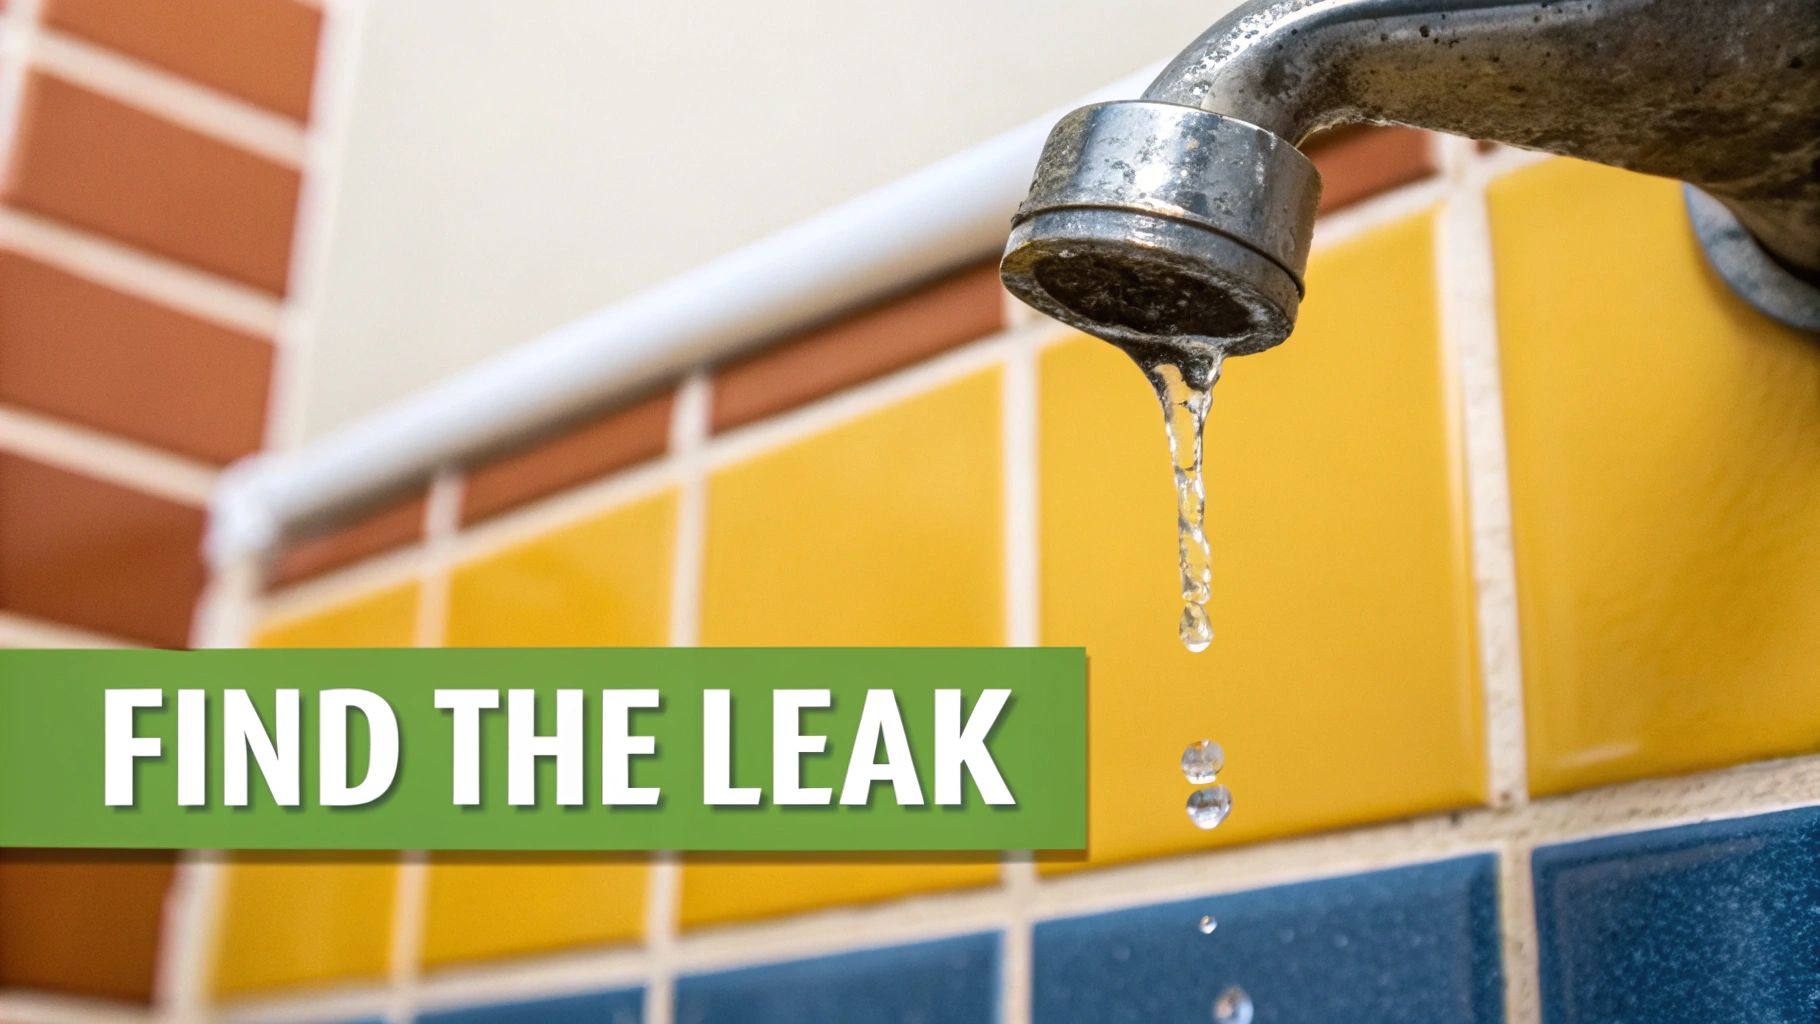
That constant drip… drip… drip… is more than just an annoying sound—it's the sound of water and money going right down the drain. The good news is that most shower faucet leaks come from a simple, worn-out internal part like an O-ring, washer, or cartridge. Fixing it is usually a straightforward job: shut off the water, take the handle apart, and swap out the tiny, inexpensive culprit.
Your Guide to Silencing a Dripping Shower
Before you start unscrewing things, it helps to picture what's going on behind the wall. That drip is a clear signal that a seal has failed somewhere inside the faucet's valve. You're not alone in this; I've seen it a thousand times. Worn-out washers or seals are the reason for roughly 70-80% of all shower faucet leaks I encounter.
Luckily, this is one of the most common and manageable DIY plumbing repairs out there. With a few basic tools and a bit of patience, you can absolutely tackle this yourself and save the money you'd spend on a professional call-out. This guide will walk you through it, step-by-step, so you can get the job done with confidence.
Common Leak Causes and Their Solutions
Before we grab the tools, let's quickly diagnose the problem. A quick look at where the drip is coming from can tell you a lot about what you'll need to fix.
| Symptom | Likely Cause | Primary Solution |
|---|---|---|
| Drip from the spout | Worn washer or O-ring | Replace the washer/O-ring |
| Leak from around the handle | Failing valve cartridge | Replace the entire cartridge |
| Persistent, steady drip | Corroded valve seat | Resurface or replace the seat |
This table is a great starting point, but remember every faucet is a little different. The key is to identify the root cause before you start buying parts.
What to Expect When You Open It Up
The parts inside your shower faucet are constantly working against high water pressure, so it's only natural that they wear down over time. Here are the usual suspects I find when I take one apart:
- Worn-Out Washers or O-Rings: These little rubber rings are the workhorses, creating watertight seals. After years of friction and pressure, they get brittle, crack, or flatten out, letting water sneak by. This is the most common failure by far.
- A Faulty Valve Cartridge: Most modern single-handle faucets use a self-contained cartridge to control both the water flow and temperature. When the seals inside this unit wear out, you have to replace the whole thing.
- Corroded Valve Seat: This is the small metal part that the washer sits against to stop the water. If it gets pitted or builds up with mineral deposits, it can't create a perfect seal, leading to that maddening drip.
A single dripping faucet can waste over 3,000 gallons of water a year. That's a huge hit to your water bill and the environment, all for a part that might cost a few dollars to replace.
While you're focused on the leak, it’s also a good moment to think about your home's overall plumbing. Sometimes, a drip can be a symptom of a larger issue. For example, knowing how to identify the causes of low water pressure can give you a more complete picture of your system's health.
Now that you have a better idea of what you're up against, let's talk about the tools you'll need to get this fix done right.
Getting Your Tools and Workspace Ready
Trust me, a little prep work is the difference between a quick, satisfying fix and a frustrating afternoon of hunting for tools and chasing tiny screws. Before you even think about touching that faucet, let's get everything you'll need lined up. You don't need a professional plumber's entire van, just a few key items.
Most of these are probably already in your toolbox. Think of this as your go-to plumbing repair kit.
- Screwdrivers: Grab both a Phillips head and a flathead. You'll need them for the faceplate and handle screws.
- Allen Wrench Set: This is a non-negotiable for most modern single-handle faucets. They almost always have a tiny set screw that needs a specific hex key.
- Adjustable Pliers or a Wrench: Perfect for getting a good grip on stubborn parts like the packing nut or the bonnet that holds the cartridge in place.
- A Rag or Old Towel: This is your best friend. Seriously. Drape it over the drain so you don't lose screws, and it'll protect your tub's finish from any accidental tool drops.
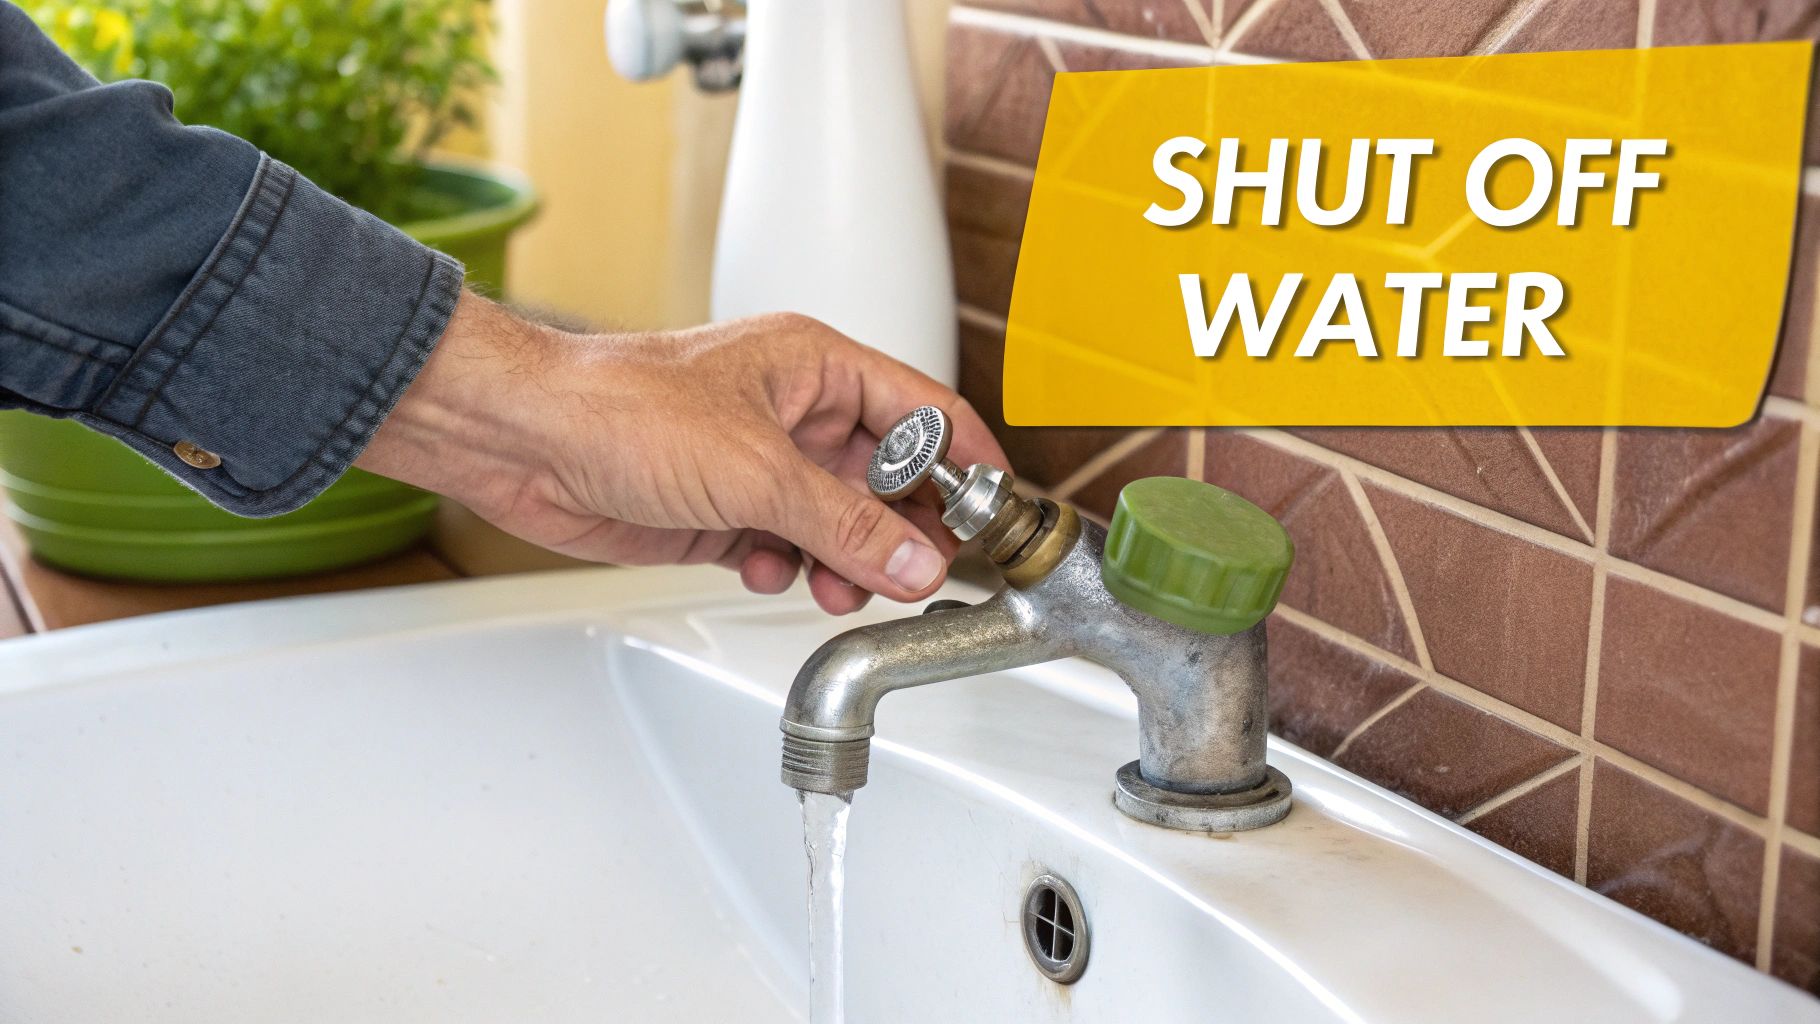
Shut Off the Water (This is Not a Suggestion)
This is the single most critical step. If you skip this, you’re going to have a geyser on your hands. Always, always turn off the water supply to the shower before you start.
Some lucky folks have dedicated shut-off valves in a little access panel right behind the shower wall. Most of us aren't so lucky. If you can't find one, you'll have to shut off the water to the entire house.
Look for your home's main water shut-off valve. It's usually where the main water line enters your house—check the basement, crawl space, or a utility closet first. Give the valve a firm turn clockwise until it stops. To be 100% sure it's off, go turn on any faucet in the house. If only a trickle comes out and then stops, you’re good to go.
Here’s a pro tip: Grab a small magnetic parts bowl. It’s a lifesaver for keeping track of all the tiny screws. Losing one of those down the drain can turn a 20-minute job into a multi-hour ordeal.
Taking the Faucet Apart to Pinpoint the Problem
Alright, the water is off, and your tools are laid out. Now comes the moment of truth: getting inside that faucet to find out what’s actually causing the drip. We’ll take this one step at a time. The real key here is to be deliberate and keep track of every little piece you remove.
This visual guide breaks down the whole process into three main stages. Think of it as your roadmap for the next few minutes.
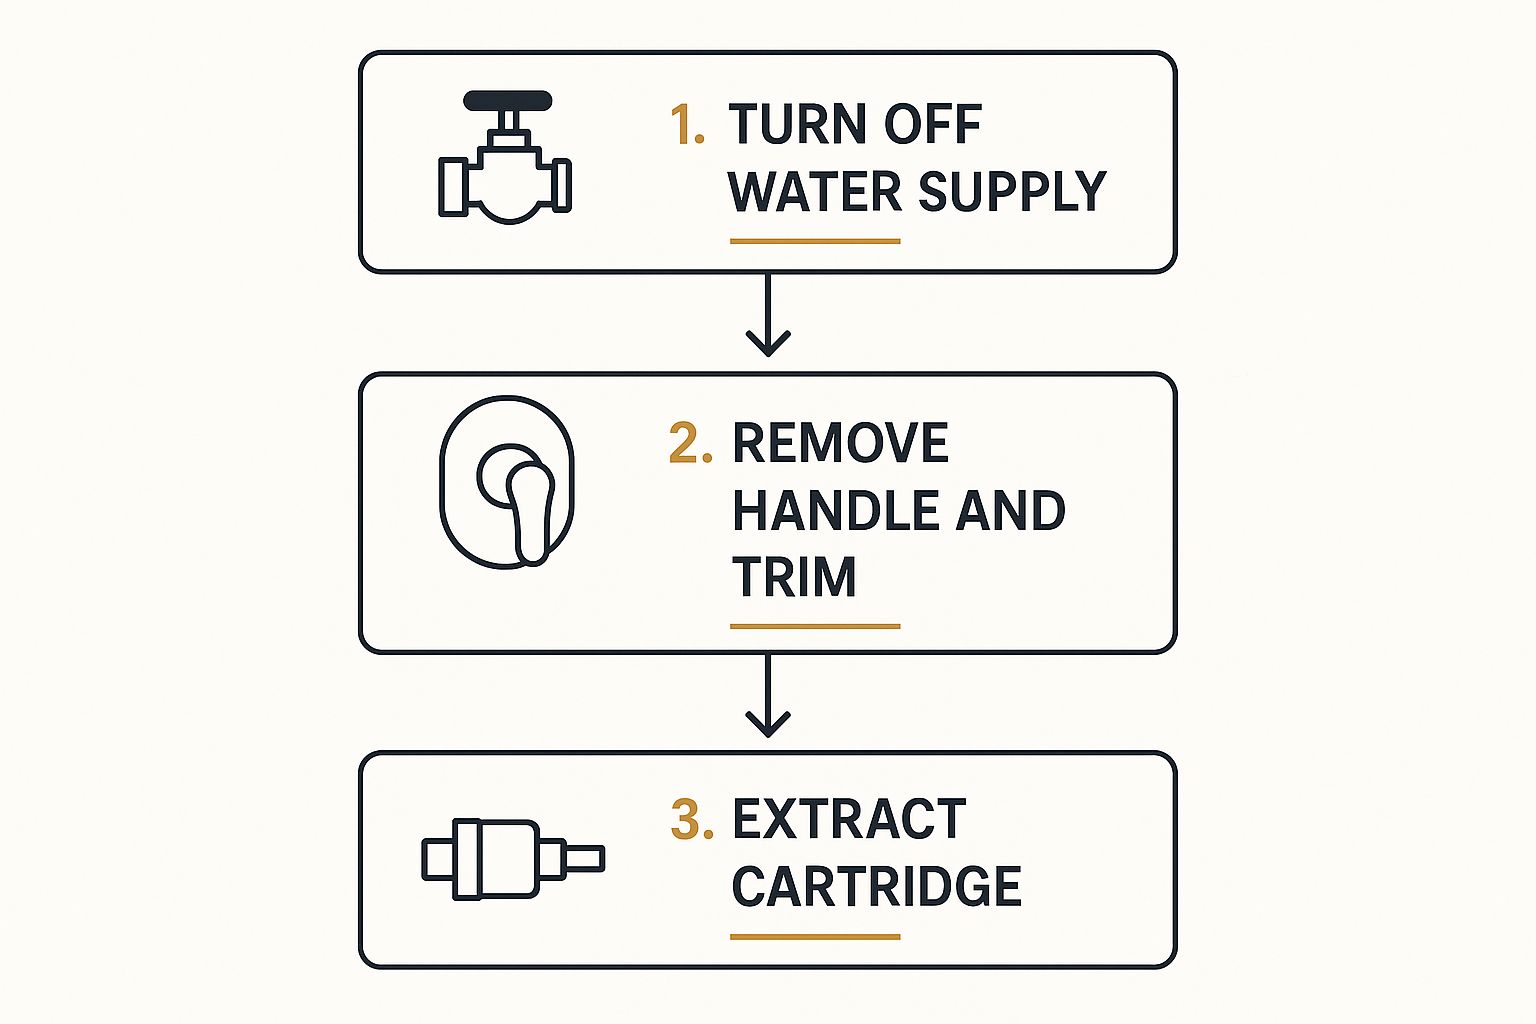
As you can see, everything flows from shutting off the water to getting your hands on the internal valve. Each step logically follows the last, so you won't get lost.
Getting the Handle and Trim Plate Off
First things first, the handle has to come off. On most single-handle models, you’re looking for either a small decorative cap on the front or a tiny set screw, usually tucked away on the underside. If you see a cap, a small flathead screwdriver is perfect for gently prying it off to get to the screw behind it.
If it’s a set screw, you'll need your Allen wrench set. Find the one that fits snugly, turn it counter-clockwise, and the handle should pull straight off. With the handle gone, you’ll be looking at the escutcheon plate—that’s the fancy term for the metal trim plate against the tile. It's typically held on by a couple of Phillips head screws. Unscrew them, and you can pull the plate right off the wall.
My Two Cents: Grab a small bowl or a magnetic parts tray before you even start. Every screw and small part goes directly into it. Trust me, watching a crucial screw skitter down the drain is a mistake you only make once.
Figuring Out What Kind of Faucet You Have
With the trim out of the way, you’re now staring at the heart of the faucet: the valve body. What you see here will tell you exactly which type of faucet you're working with, and that's critical because the fix is different for each one.
Here’s a quick rundown of what to look for:
- Cartridge Faucet: This is the most common setup in modern showers. You’ll see a single unit—usually plastic, sometimes brass—that slides into the valve body. It's held in by a small retaining clip or a large bonnet nut that threads over it.
- Compression Faucet: Think older, two-handle faucets. You’ll find separate stems for hot and cold, and the culprit is almost always a simple rubber washer at the bottom of the stem assembly.
- Ball Faucet: Less common in showers these days, but they're out there. These have a single handle that controls a rotating, slotted ball. The leaks usually come from the small rubber seats and springs that press against the ball.
Different faucets mean different jobs. Some are a quick fix, while others can be a bit more finicky, especially if the parts are old and corroded.
Faucet Type and Repair Complexity
| Faucet Type | Common Failure Point | DIY Repair Difficulty |
|---|---|---|
| Compression | Worn-out rubber washer | Easy |
| Cartridge | Failing seals inside the cartridge | Moderate |
| Ball | Worn springs and rubber seats | Moderate |
Once you’ve made a positive ID, you’re ready to get the guts out. For a cartridge faucet, that means pulling the retaining clip straight up with pliers. On a compression faucet, you'll need to unscrew the packing nut on top of the stem and then lift the whole stem out.
Before you go any further, snap a quick photo with your phone. Having a picture of the valve assembly is a game-changer when you're standing in the aisle of the hardware store trying to find the right replacement parts. It’s the best way to ensure you know exactly what you need to finally stop a leaking shower faucet.
Getting It All Back Together and Checking Your Fix
With the new part settled in, you're in the home stretch. The key now is to reassemble everything in the reverse order you took it apart. This ensures everything seals up just right and you don't end up with a new, different kind of leak.
Start by sliding the valve or cartridge back into the valve body. You should feel it seat firmly in place. If your model had a retaining clip, this is the time to slide it back into its groove—you'll usually hear or feel a little click when it's secure.
Next, line up the escutcheon plate (that's the decorative plate that sits against the wall) and put its screws back in.
Don't Make This Common Mistake
I can't tell you how many times I've seen people crank down on the screws for the handle and faceplate, thinking tighter is better. This is a classic mistake. Over-tightening can strip the threads or, even worse, crack the plastic or metal of the fixture itself.
My Two Cents: Just tighten the screws until they're snug. You're looking for a firm fit, not a death grip. It prevents damage and makes your life a whole lot easier the next time you have to take it apart.
Once the plate is secure, slide the handle back onto the valve stem. Tighten its set screw (usually with a small Allen wrench) and give the handle a little jiggle to make sure it's not loose.
Now for the moment of truth. Head back to your main water shut-off and turn the water back on, but do it slowly. If you open the valve too quickly, you can create a "water hammer"—a jarring bang in your pipes that's not only loud but can stress the plumbing joints.
With the water on, head back to the shower and give your work a thorough inspection. Look for any hint of moisture around the handle or the plate. Finally, turn the shower on and off a few times, letting it run for a bit. Watch the faucet head closely after you turn it off to be sure that pesky drip is gone for good.
If this project has you thinking about upgrading more than just a washer, our guide on professional fixture installation services has some great pointers for bigger jobs.
Preventing Future Leaks and Keeping Your Faucet in Top Shape
You’ve stopped the drip, which is great. But the real win is making sure you don't have to do this all over again in six months. A little proactive maintenance can save you a world of hassle and extend the life of your shower faucet for years.
One of the most common culprits I see causing premature wear and tear is high water pressure. It might feel luxurious, but if your home’s water pressure is consistently over 80 PSI, it's putting a ton of stress on your faucet's delicate seals and washers. You can pick up an inexpensive pressure gauge that screws right onto a hose bibb to check it yourself.
Smart Habits for a Leak-Free Shower
Beyond just checking the pressure, a few small changes in how you use the faucet can make a big difference. It's all about preventing unnecessary strain on the internal parts.
-
Go Easy on the Handles: When you turn the water off, just turn the handle until it stops. There's no need to crank it down with force. That extra muscle just crushes the washer or O-ring, which is a surefire way to cause another leak down the road.
-
Keep an Eye on Mineral Buildup: Every so often, wipe down the area around the handle and escutcheon plate. Hard water deposits can sneak into the mechanism and prevent the seals from creating a tight fit.
This kind of forward-thinking is more important than ever. The faucet market is booming—valued at USD 23.42 billion in 2024—and is expected to more than double by 2034, largely thanks to new smart technologies. If you're curious, you can explore the latest faucet market trends and see how things like built-in leak detection are changing the game.
Thinking about an upgrade? If you really want to future-proof your shower, look into a faucet with a ceramic disk valve. Instead of relying on rubber washers that wear out, these use two incredibly hard ceramic discs that shear the water off. They last for ages.
When it comes down to it, a little attention goes a long way. By keeping your water pressure in check and treating your faucet with a bit of care, you're not just fixing a leak—you're preventing the next one.
Knowing When to Call a Professional Plumber
Fixing a leaky shower faucet can be a satisfying Saturday afternoon project, but knowing when to step back and call a pro is just as important. It’s not about giving up; it’s about smart homeownership. Pushing past your limits can turn a minor annoyance into a full-blown plumbing disaster.
If you’ve gone through the trouble of replacing the usual suspects—washers, O-rings, even the whole cartridge—and that stubborn drip is still there, you’re likely dealing with a much deeper problem. That’s your first clue.
The real show-stoppers? Visible corrosion eating away at the main valve body or, even worse, any sign of water leaking from inside the wall. These aren't just minor issues; they're absolute stop signs. Trying to fix these without the right experience is a recipe for serious water damage, hidden mold, and a repair bill that will make you cringe.
Red Flags That Mean It's Time for a Pro
Sometimes you just need to call for backup. Here are the tell-tale signs that your DIY project has graduated to a professional job:
- The Drip Won't Quit: You've replaced the parts, but the leak persists. Something else is wrong.
- Serious Valve Damage: You see deep corrosion, cracks, or significant pitting on the valve body itself. This part is not easily replaced and is integral to your wall's plumbing.
- Water Behind the Wall: This is the big one. If you see damp drywall or water stains, it's a serious red flag that requires immediate professional help to prevent major structural damage.
The need for skilled plumbers is growing for a reason. With aging homes and complex fixtures, the global shower repair services market was valued at a hefty USD 0.55 billion in 2024 and is expected to more than double by 2033. You can read more about the growing demand for shower repair services and see why it's a booming industry.
I’ve seen it countless times: a homeowner tries to force a corroded valve and ends up with a broken pipe inside the wall. Trust me, the best tool in your toolbox is often just your phone.
If you're in over your head or facing a situation that feels like it could escalate quickly, don't wait. Our guide to handling emergency plumbing situations can give you some crucial first steps to take.
Got Questions About That Leaky Shower Faucet?
Even with the best guide in hand, it’s easy to get stuck when you’re staring at a bunch of pipes and parts. It happens to everyone. Let's tackle some of the most common questions that come up when you're trying to fix that drip.
What Kind of Shower Faucet Do I Even Have?
You can usually figure this out just by looking at the handle. If you've got two separate handles—one for hot, one for cold—you're almost certainly dealing with an older compression faucet.
Got a single handle that you lift for pressure and turn side-to-side for temperature? That’s probably a newer cartridge or ball-type faucet.
The best way to be 100% sure is to turn off the water, pop the handle off, and see what you're working with. Before you even think about heading to the hardware store, snap a quick photo of the internal parts on your phone. It’s a simple trick that guarantees you’ll walk out with the right replacement parts the first time.
I Replaced the Washer, So Why Is It Still Dripping?
Ah, the classic "I fixed it, but it's still broken" problem. This is incredibly common, and if a new washer didn't stop the leak, your culprit is almost always the valve seat. This is the little metal ring the washer seals against to stop the water flow.
Over years of use, that seat can get corroded, pitted, or just worn down. When that happens, even a brand-new washer can't create a perfect seal. You’ve got two options here: use a cheap tool called a valve seat wrench to grind the surface smooth again, or just replace the seat entirely.
Deciding whether to repair or replace often comes down to the faucet's age and overall condition. A five-minute washer fix is a no-brainer. But if you're looking at a pricey, hard-to-find cartridge for a faucet that's seen better days, putting that money toward a whole new fixture is usually the smarter move.
Should I Bother Repairing This Old Faucet or Just Replace It?
For a simple problem like a bad washer or O-ring, a repair is cheap, fast, and definitely the way to go. You can fix it for just a few bucks.
But, if you're dealing with an older, heavily corroded faucet or a part that's expensive and hard to track down, you're probably better off replacing the whole thing. A modern fixture isn't just a cosmetic upgrade; it's often more water-efficient and will save you from future repair headaches.
If you've hit a wall or just decided this job is bigger than you bargained for, there's no shame in calling for backup. The team at Armor Hydro Jetting is always ready to step in with fast, reliable plumbing solutions. https://www.armorhydrojet.com